WebMail
How to install a WordPress plugin?
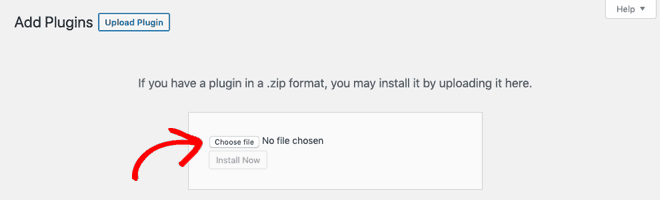
Do you want to know how to install a WordPress plugin? After installing WordPress, one of the first things everyone wants to do is add a plugin to WordPress.
In this guide, we’ll show you three pre-checks, followed by three ways of installing a plugin.
IN THIS GUIDE:
- What is a WordPress Plugin?
- How to Install a Free WordPress Plugin
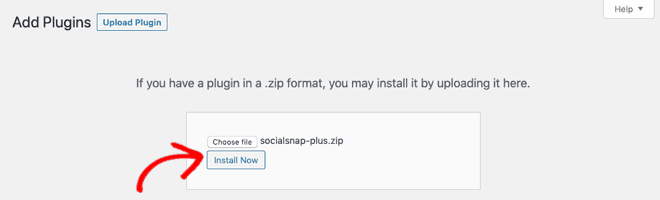
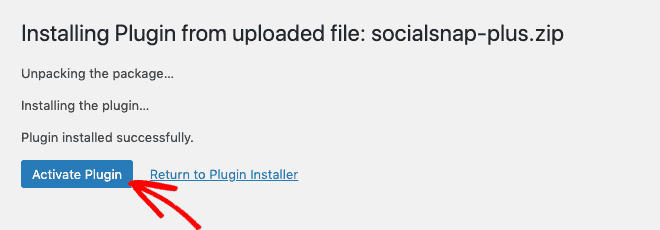
- How to Upload and Install a Premium WordPress Plugin
A quick note before we start: WordPress.com users cannot install plugins unless they upgrade to the Business or Ecommerce plans. Check out this article to see the differences between WordPress.com and WordPress.org.
What is a WordPress Plugin?
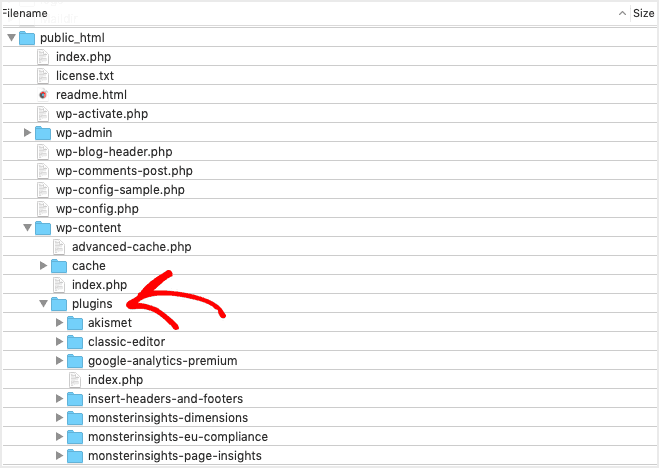
WordPress plugins are additional software programs that extend and expand the core functionality of WordPress.
The scope of WordPress plugins is far-ranging. Some are small, simple programs, while others are larger and more intricate.
The scope of WordPress plugins varies significantly. For example, you can find free, simple plugins, such as:
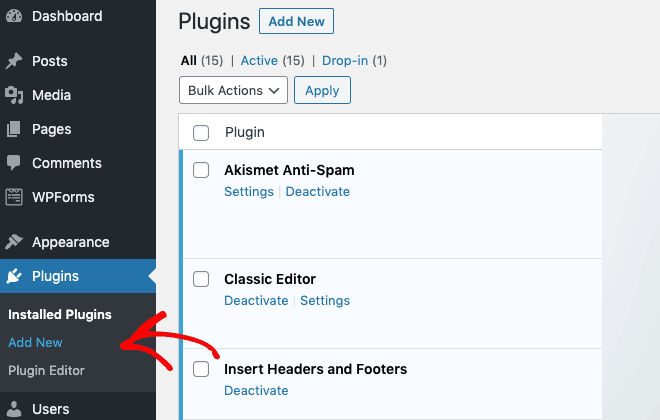
- Classic Editor – lets you switch from the new WordPress block editor to the classic editor.
- Insert Headers and Footers – allows you to insert code in the header and footer sections of your WordPress site.
- Really Simple SSL – lets you switch your site to SSL.
And then, on the other hand, there are more advanced premium plugins, such as:
- MonsterInsights – lets you track Google Analytics inside WordPress.
- RafflePress – allows you to create giveaways, contests, and rewards easily.
- Yoast SEO – helps optimize your WordPress blog for search engines.
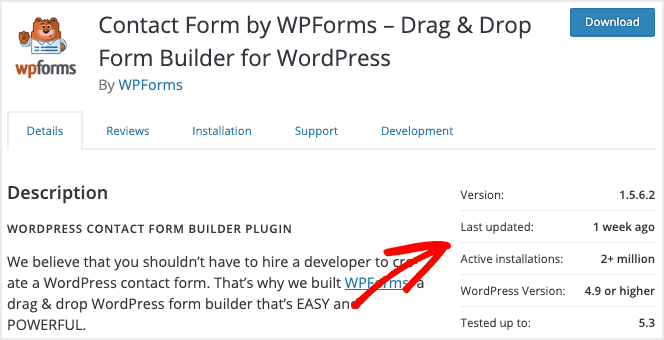
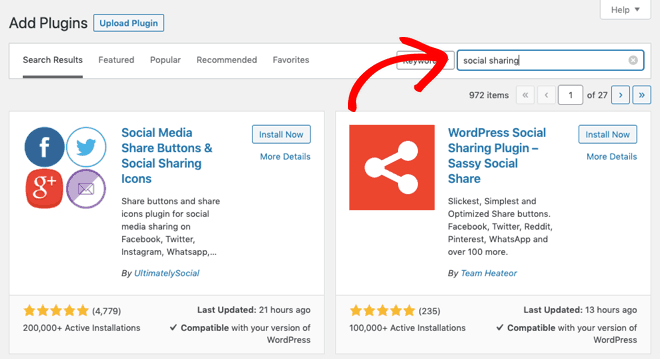
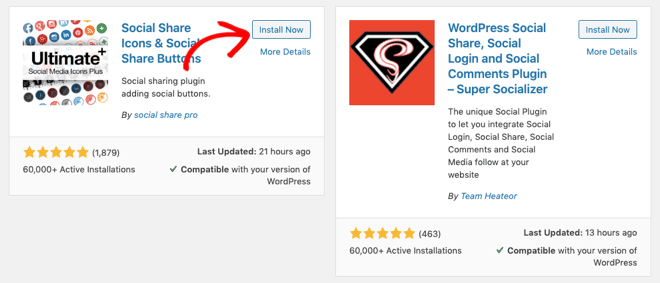
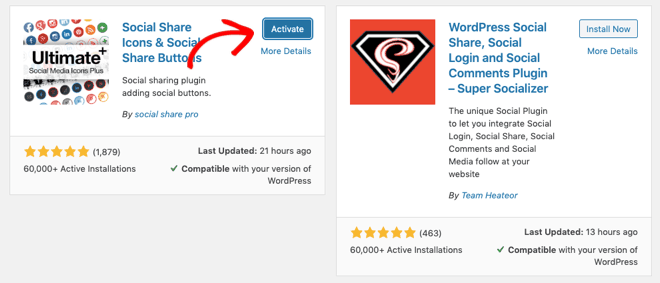
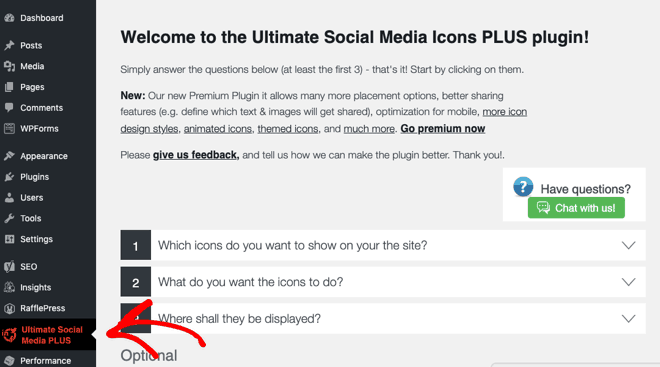
Free plugins can be found in the WordPress Plugin Directory. Whereas premium plugins have to be purchased from the software vendor’s website.